Every year, our customer service team fields dozens of calls from distributors whose end users struggled with unclear assembly steps torque specifications 1. The frustration is real — one missing instruction page or one unlabeled connector bag can turn a two-hour job into a weekend headache.
To confirm modular aluminum pergolas are easy for end users to install, request supplier-provided 3D installation videos, verify pre-drilled hole precision with sample kits, check for numbered parts and modular connectors, and demand customer testimonials showing real DIY assembly times of under three hours.
This guide walks you through four proven verification steps we have refined over 25 years of manufacturing and exporting pergola kits across Europe. Each section gives you a concrete sourcing checklist so your clients never call you with installation complaints.
How can I evaluate the clarity of the supplier's installation manuals and 3D videos before I commit to a bulk order?
Unclear manuals are the number one reason end users abandon a DIY pergola install halfway through. Our engineering team learned this the hard way when early exports to Italy came back with warranty claims rooted in confusion, not defects.
Before committing to a bulk order, request the supplier's full installation manual and 3D video walkthrough, then evaluate them for visual clarity, multilingual accuracy, step numbering, tool callouts, and real unboxing footage that matches the actual kit contents.

Why Manuals Still Matter in a Video-First World
Even though video tutorials dominate, a well-structured PDF manual remains the fallback when a user is on a rooftop patio with poor cell reception. The manual should include exploded-view diagrams 2, numbered part lists, and torque specifications for every bolt. When we redesigned our manuals in 2023, we added QR codes 3 on each page that link directly to the matching timestamp in our 3D assembly video. This hybrid approach cut installation support tickets by 40% in the first quarter alone.
What to Look for in a Supplier's 3D Video
Not all videos are equal. A polished marketing clip showing a time-lapse of a finished pergola tells you nothing about real assembly difficulty. Instead, ask for an unboxing-to-completion video that includes these elements:
- Camera angles showing hand placement on connectors
- On-screen text calling out each tool by name
- A visible clock or timestamp so you can gauge real elapsed time
- At least two people assembling without professional equipment
Evaluation Checklist for Manuals and Videos
| Evaluation Criteria | What to Look For | Red Flag |
|---|---|---|
| Language accuracy | Native-level translation, not machine output | Grammatical errors, missing terms |
| Step numbering | Sequential with clear "before and after" images | Steps that skip ahead or reference unlabeled parts |
| Tool callouts | Specific tool listed per step (e.g., M8 hex wrench) | Generic "use appropriate tools" without detail |
| QR code integration | Links to video timestamps for each section | No digital supplement at all |
| Part labeling | Every bag and component labeled with a code | Loose hardware in a single unlabeled bag |
| Video duration | Full walkthrough, typically 15–30 minutes | Under 3 minutes or purely promotional |
Request a Sample Manual Before Your Bulk Order
Do not rely on a supplier's promise that "the manual is very clear." Ask for the actual PDF and video link. Share them with a non-technical colleague and ask if they could follow along. If your colleague gets lost, your end user will too. Our team at Lonson Pergola sends the full manual package to every prospective distributor during the quoting stage. This builds trust and lets you verify quality before you spend a single euro.
What modular design features should I look for to ensure my clients can assemble the pergola without professional help?
When our R&D team designs a new pergola series, the first question on the whiteboard is always: "Can two people with a drill and a level build this in under three hours?" That single constraint drives every design decision from post shape to beam connection method.
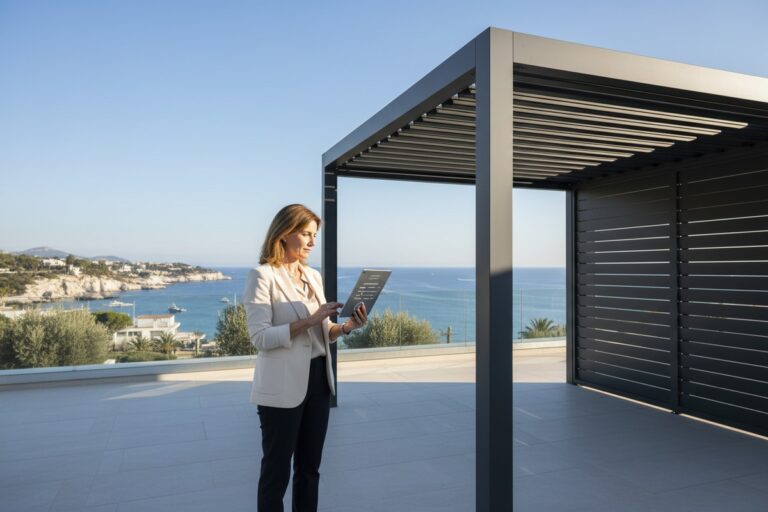
Look for slide-in beam channels, pre-numbered components, adjustable post bases for uneven surfaces, snap-fit or cam-lock connectors, and a four-post-only frame design. These features let two to three people assemble a standard pergola in one to three hours using basic household tools.

The Core Features That Define True Modularity
Modularity is not just a marketing buzzword. It means every structural element is pre-cut, pre-drilled, and designed to connect without welding, cutting, or shimming. Here are the features that separate a truly modular kit from a box of loose profiles:
- Slide-in beam channels: The main beams slide into pre-formed channels on the posts and lock with two to four bolts. No overhead lifting or alignment guesswork.
- Pre-numbered parts: Every post, beam, and louver blade carries a laser-etched number that matches the manual. This eliminates the "which piece is this?" confusion.
- Adjustable post bases: Threaded base plates let the installer compensate for up to 30 mm of slope on concrete slabs or tiles without pouring new footings.
- Snap-fit or cam-lock connectors: Advanced kits use cam-lock mechanisms that require only a quarter turn to secure. Snap-fit or cam-lock connectors 4 This reduces the total bolt count and speeds up assembly.
Modular vs. Custom-Built Pergola: A Comparison
| Feature | Modular Aluminum Kit | Custom Wood or Welded Build |
|---|---|---|
| Tools required | Drill, level, rubber mallet, hex wrench | Saw, welder, clamps, jigs |
| People needed | 2–3 | 3–5 plus a skilled tradesperson |
| Assembly time | 1–3 hours | 1–3 days |
| Foundation work | Adjustable bases, minimal prep | Concrete footings often required |
| Skill level | Basic DIY | Advanced carpentry or metalwork |
| Error recovery | Unbolt and reposition | Cut new material or re-weld |
Why Four Posts Matter
Many pergola designs use six or even eight posts for larger spans. But every extra post adds another foundation point that must be perfectly level and plumb. Our standard models up to 12×20 feet use only four corner posts with reinforced beam profiles that handle wind loads up to 120 km/h. Fewer posts mean fewer alignment steps, less drilling into the patio, and a faster overall build.
Smart Add-On Compatibility
Modern buyers want motorized louvers 5, LED strip channels, and zip blind tracks. A well-designed modular system includes pre-routed wire channels inside the frame so the end user only needs to plug in a single power cable. If your supplier's kit requires the user to drill new holes for wiring or retrofit motor brackets, that is not truly modular. Ask the supplier to show you the integrated wiring path in their cross-section drawings.
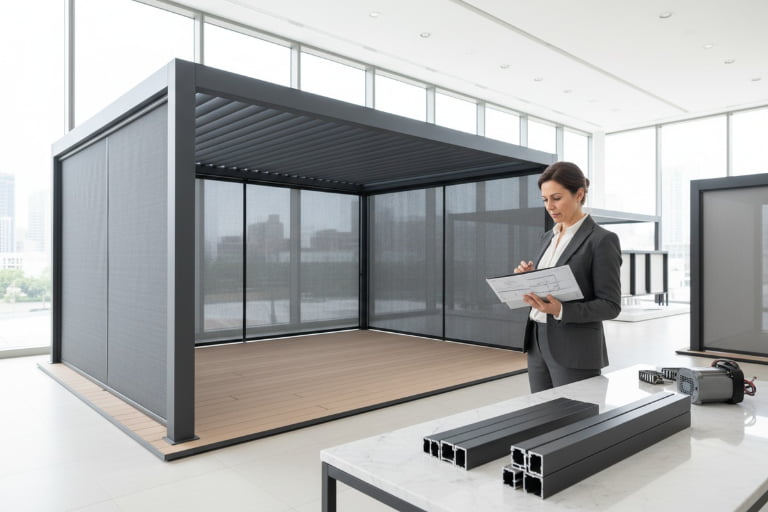
How do I verify that the pre-drilled holes and connectors are precise enough to avoid installation errors on my project site?
A single misaligned hole can cascade into a crooked frame that no amount of shimming will fix. During our early production years, a 2 mm drilling tolerance error on one batch of beams caused a full container of kits to need rework. That expensive lesson permanently changed how we approach quality control on the production floor.
Verify pre-drilled hole precision by requesting a sample kit for trial assembly, checking the supplier's CNC machining tolerances (±0.5 mm or better), inspecting connector fit with no force required, and reviewing third-party quality inspection reports before approving mass production.

Understanding CNC Tolerances
All reputable aluminum pergola manufacturers use CNC (Computer Numerical Control) machines 7 to drill holes and cut profiles. But CNC precision varies. Entry-level machines hold ±1.0 mm, which sounds tight but can cause misalignment when you multiply that error across a 4-meter beam with 20 holes. Our production line uses machines calibrated to ±0.3 mm, and we run a first-article inspection on every new batch. Ask your supplier for their stated tolerance and the date of their last machine calibration.
The Sample Kit Test
Nothing replaces a hands-on trial. Order one sample kit and assemble it yourself or have a non-technical team member do it. Document the following:
- Do all bolts slide into pre-drilled holes without force?
- Are connector plates flush against the frame with no gaps?
- Do louver blades seat evenly into their track channels?
- Can you disassemble and reassemble without stripping threads?
If any bolt requires a hammer to enter its hole, the tolerance is off. If a connector plate rocks when tightened, the mating surfaces are not flat enough.
Connector Types and Their Precision Requirements
| Connector Type | Precision Needed | Common Failure Mode |
|---|---|---|
| L-bracket with bolts | ±0.5 mm hole alignment | Holes offset, bolt binds at an angle |
| Slide-in beam channel | ±0.3 mm profile width | Beam too tight or too loose in channel |
| Cam-lock mechanism | ±0.2 mm cam and pin fit | Lock does not engage or feels sloppy |
| Adjustable post base | ±1.0 mm (threaded rod) | Thread cross-threading if misaligned |
| Louver blade clip | ±0.3 mm clip slot width | Blade pops out under wind load |
Third-Party Inspection as Insurance
For bulk orders, consider hiring a third-party inspection 8 company like SGS or Bureau Veritas to visit the factory before shipment. They will measure a random sample of drilled holes with calipers and gauges, check surface finish, and verify hardware counts. The inspection cost is typically $300–500 per container — a fraction of the cost of a single failed installation job in Europe. We welcome third-party inspections at our facility because they build buyer confidence and catch issues before they reach the job site.
Over-Tightening: A Hidden Risk
Even with perfect holes, end users sometimes over-tighten bolts and strip the aluminum threads. A good supplier addresses this by including nylon-insert lock nuts 9 or specifying torque values in the manual. Some kits now ship with a small torque-limiting wrench preset to the correct value. Ask your supplier if they offer this. It is a small cost addition that prevents a very common installation mistake.
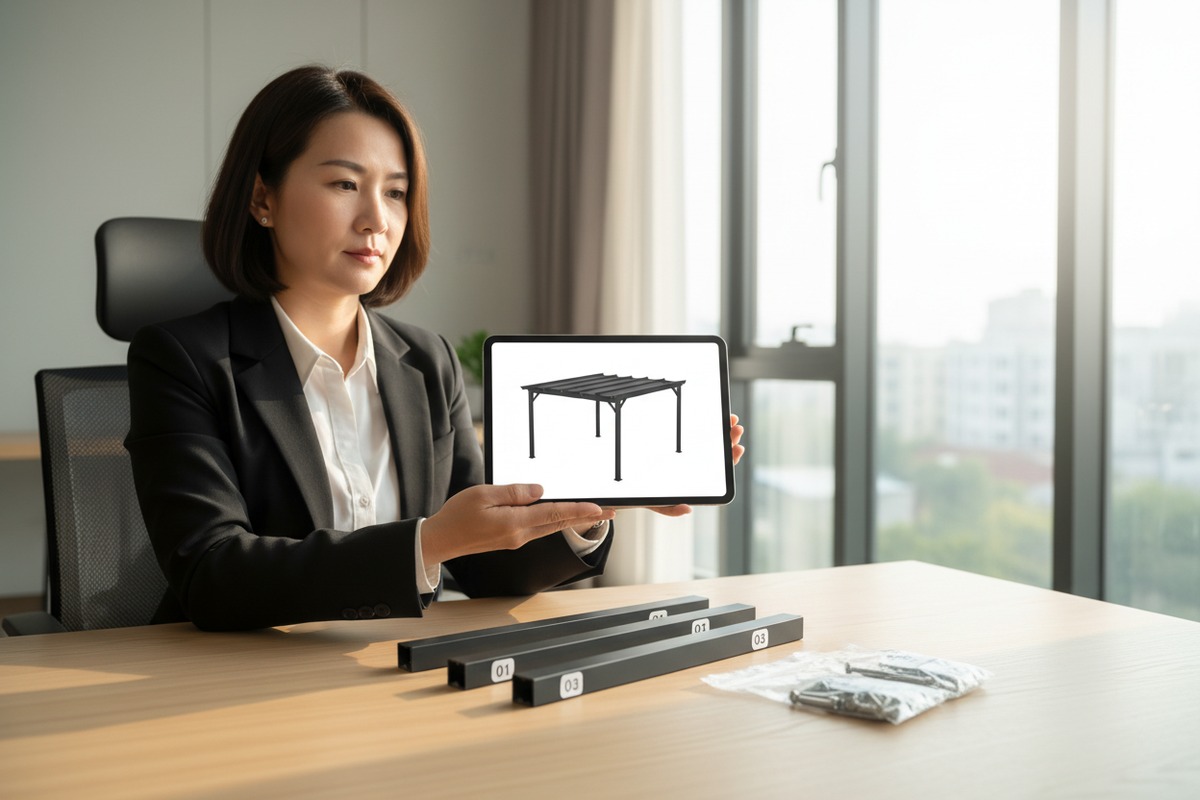
Can I request a factory pre-assembly video to guarantee my end users receive a complete and easy-to-install kit?
After years of exporting pergola kits, our quality assurance team now films a pre-assembly of every new model and every significant batch change. This practice started because a European distributor once received 200 kits with the wrong screw bag — a simple packing error that cost both sides thousands in express replacement shipments.
Yes, you can and should request a factory pre-assembly video. A reputable supplier will film the full assembly from unboxing to louver operation, proving that all components fit correctly, hardware bags are complete, and the finished structure matches the approved drawings and specifications.

What a Pre-Assembly Video Should Include
A proper pre-assembly video is not a polished advertisement. It is a quality control document. Here is what to insist on:
- Unboxing sequence: The camera should show sealed packaging being opened, revealing labeled component bags and protective wrapping on all profiles.
- Part count verification: A worker lays out every component and counts hardware against the packing list on camera.
- Full assembly: Two workers assemble the complete pergola using only the tools listed in the manual, following the manual step by step.
- Function test: If the kit includes motorized louvers, the video must show the motor rotating the louvers from fully open to fully closed, including rain sensor response if applicable.
- Timestamp or date marker: A visible date card or newspaper confirms when the video was recorded, linking it to your specific production batch.
When to Request the Video
Timing matters. Request the pre-assembly video at two stages:
- During sample approval: Before you place the bulk order, the factory assembles your approved sample on video. This confirms the design is correct and easy to build.
- During mass production: For the first batch off the line, the factory assembles one random unit from the production run. This catches any tooling drift or packing errors that crept in during scale-up.
Cost and Lead Time Impact
Some buyers worry that requesting a pre-assembly video will delay shipment or increase cost. In practice, a skilled two-person team can assemble a standard 3×4 meter pergola in under two hours. Filming adds no extra time since the assembly itself is the inspection. At our facility, we include pre-assembly videos as a standard part of our quality process at no additional charge. If a supplier charges extra or refuses, consider it a warning sign.
Linking Pre-Assembly to Warranty Protection
A factory pre-assembly video also serves as legal documentation. If an end user claims a structural defect, you can compare the factory video to the field complaint and determine whether the issue is a manufacturing flaw or an installation error. Many of our European distributors archive these videos by order number. This practice has resolved disputes quickly and fairly, protecting both the distributor's reputation and the end user's investment.
Beyond Video: Digital Verification Tools
Forward-thinking suppliers are beginning to explore AR (Augmented Reality) apps that let end users point their phone at a component and see exactly where it goes. While this technology is still emerging, pre-wired smart integration channels and plug-and-play motor connections are already standard in mid-to-high-end kits. These features reduce the number of steps where a user can make a mistake. Ask your supplier about their product roadmap — a willingness to invest in digital installation support signals a serious commitment to end-user experience.
Conclusion
Confirming installation ease before you place a bulk order protects your margin, your brand, and your end users' trust. Evaluate manuals and videos, verify modular design features, test hole precision with samples, and always request a factory pre-assembly video.
Footnotes
1. Defines the importance of correct fastening force for structural integrity. ↩︎
2. Provides context on technical drawings used in assembly manuals. ↩︎
3. Authoritative Wikipedia page offering a general and comprehensive explanation of QR codes. ↩︎
4. Describes types of connectors that simplify assembly. ↩︎
5. Describes a common feature in modern pergolas. ↩︎
6. Details the function of adjustable post bases for leveling structures. ↩︎
7. Explains the function and importance of CNC machines in manufacturing. ↩︎
8. Explains the role of independent inspection in quality control. ↩︎
9. Explains a component used to prevent loosening of fasteners. ↩︎